This was my first DIY guitar kit, purchased in April, 2022. I had been browsing Facebook Marketplace looking for nothing in particular when I came across a listing from Budreau Guitars for a DIY Jazz bass guitar kit. Way back in the 1970s as a teenager I had an Aria Jazz, my first good bass. I let it go, then later bought a Peavey bass in 1982. That Peavey was the only other bass I’d owned, and I still have it. Now some 45 years after that Aria Jazz, and as a recent retiree, this kit caught my eye.
But I’d never attempted anything like that before. Was it any good? Was I able to do it? I just wasn’t sure – but this distributor, Budreau Guitars, was less than an hour away. So I contacted Chuck Budreau, drove over to take a look and talk about how to do this, and (as they say) the rest is history.
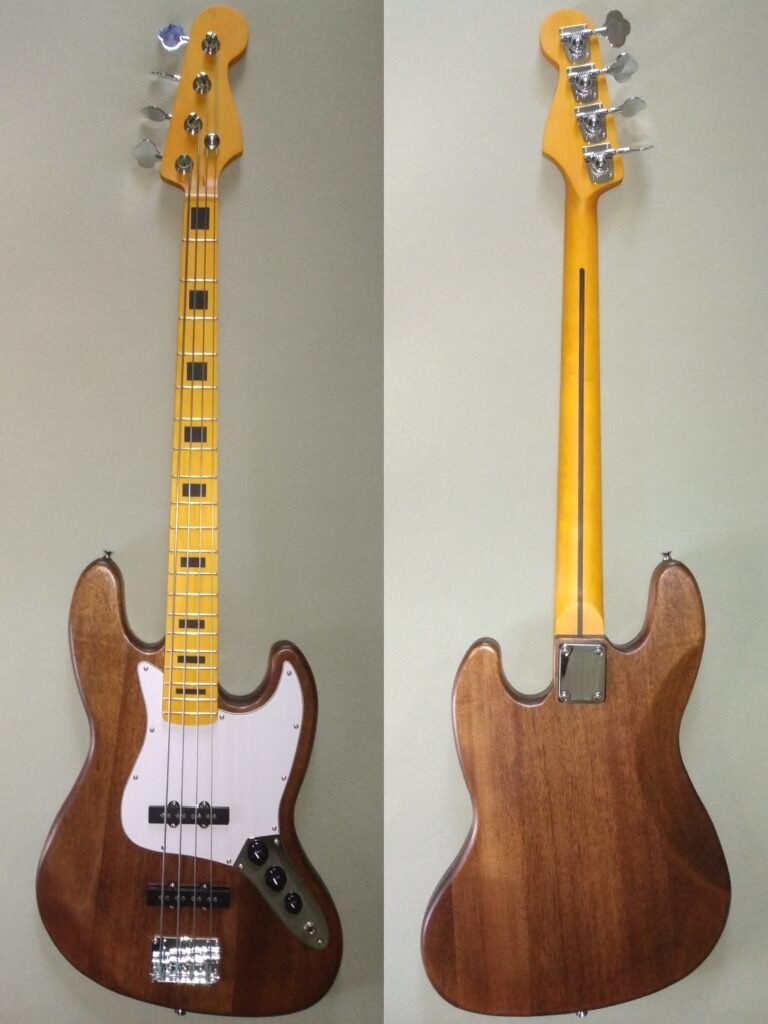
This Jazz style bass has a mahogany body, which finished with a red mahogany stain and Minwax wipe-on poly. The original neck that came in the kit was maple with a rosewood fingerboard. I had to shape the blade headstock to look like a Fender Jazz bass, then finished the maple with Minwax Tung Oil Finish. The pickups and electronics are the stock components that came in the kit, and they are fully acceptable. After assembling the kit, I installed D’Addario XL bass strings. I learned to do a setup and had it playing and sounding great. Overall the project took about three weeks.
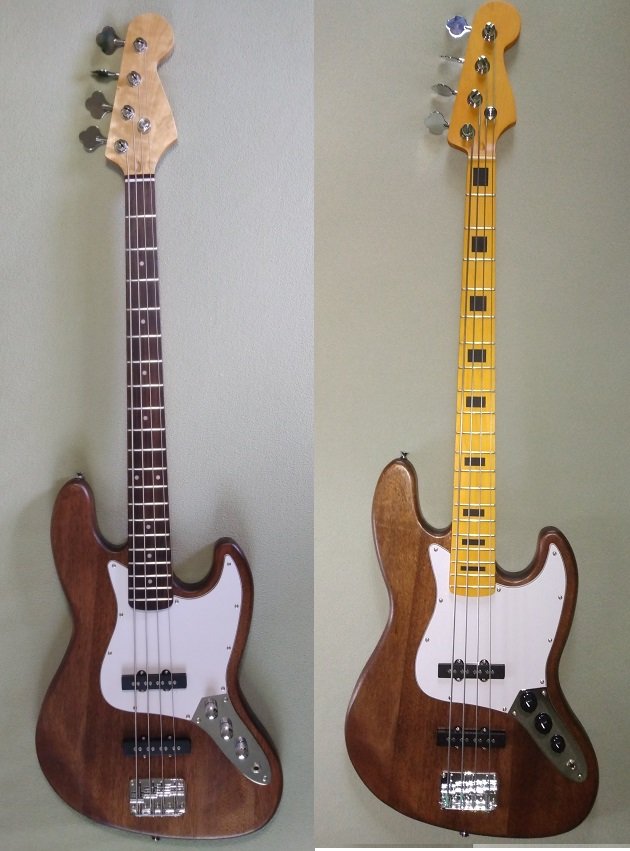
A while after I had this finished, I realized that even though this was a Jazz bass kit, the neck was more like a Precision bass and the width of the nut was 42mm. So I found a nice Canadian maple Jazz neck (38mm nut) on eBay and ordered it. Then I ordered a set of genuine Fender tuning machines from Sweetwater. I swapped out the neck and did a fresh setup. I also swapped out the original chrome knurled knobs for authentic Jazz bass knobs. Now I am completely satisfied with this bass.
But I still had the original neck and tuning machines and had to do something with them. Check out DIY #10.